Ready for Florida: Wind-Mit
Easily Fill and Email Completed Wind Mitigation Form and Photos
Complete Reports On-Site with Android or iOS Apps
In Florida, additional types of inspections are often performed in order to provide insurance carriers with up-to-date information on the condition of a property, such as 4-Point and Wind Mitigation reports.
Eneris provides a tool that makes it easy to write, share, and maintain a copy of the OIR-B1-1802 Uniform Mitigation Verification Inspection Form, commonly known as the Wind-Mit Form.
Part 1
Schedule a New Inspection
Click New Inspection or Create Inspection while connected to the internet on a computer, phone, or tablet.
If a 4-Point inspection is required, select 4-Point Inspection Template from the list of available Templates.

Navigate to the newly created report and perform the inspection as appropriate using the System-by-System, or Room-by-Room data entry mode.
When you're ready to start filling out a Wind-Mit form, navigate to the General tab of the report and scroll down to find the Supplementary Reports dropdown button in the Append Custom Files box:

Part 2
Load From Main Report
Once on the Uniform Mitigation Verification Inspection Form page, click the + Load From Main Report button. This will transfer common report data, such as the client's information, property address, date, etc. into the Wind-Mit Form automatically.
To ensure the convenient and repeatable transfer of basic information, such as items in the Inspector Information tab, ensure that your business details have been entered into your Eneris account by visiting Settings -> My Business Details.
Add your signature to Settings -> Agreements & Disclaimers -> Service Agreement Signature to allow for automatic signing on page 4 of all Wind-Mitigation reports.
Other data which can't be copied from the Main Report can be entered by clicking on each item in the list.

Part 3
Fill In Report Details
After loading information from the main report, it is important to review the information on the Report Information page to add any items that were not transferred in Part 2 above. The rest of the Wind-Mitigation inspection can then be started.
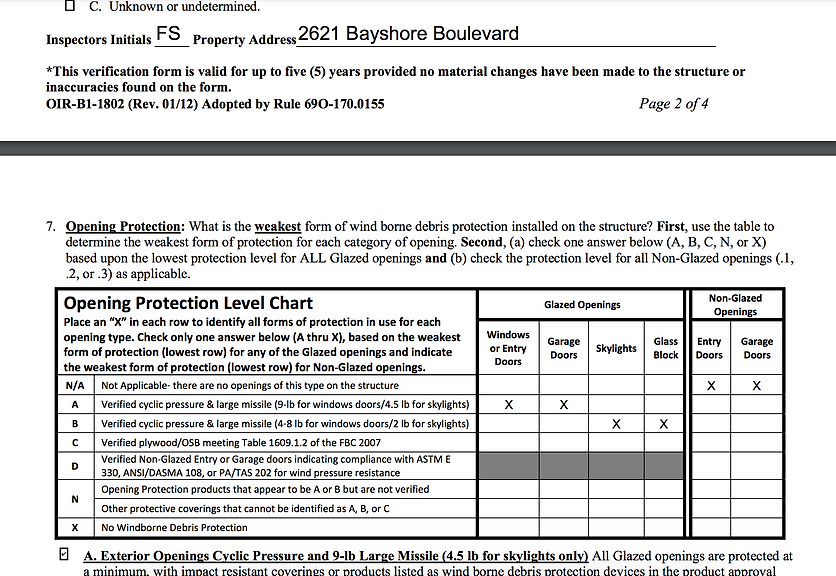
The tabs, Building Code, Roof Covering, Roof Deck, Roof to Wall, Roof Geometry, Secondary Water Resistance, and Inspector Information correspond to the items in the Wind-Mitigation form.
Clicking on a tab (i.e. Building Code) will display a list of items, which correspond to the items to be inspected within the section.
Clicking the Check button will add check marks to the corresponding section in the final PDF form.
Clicking on an item with a down-arrow (i.e. A. Built in Compliance with the FBC) will expand the section, where more details may be required.


Part 4
Generate PDF and Email To Clients
The final step is to Generate a PDF for review, and then email it to your client. The completed form can optionally be attached to the Main Report PDF via General -> + Append Files.
Click the Generate PDF button. This will open a new tab or window with the completed Wind-Mit form.
Please Note: If a new tab or window does not open, please ensure you have allowed pop-ups for eneris.


The report can now be emailed to your client and anyone else who may need to view it by clicking the Share By Email button. It will automatically be added to the email as an attachment, and you will be CC'd for each email sent.